Showing posts with label embroidery. Show all posts
Friday, March 27, 2015
Fabric Markers For Embroidery
I'm often asked about marking fabric for embroidery. My all time favorite is the Dritz brand fine tip water erasable fabric marking pen. The traced design shows up nicely on light colored fabric and rinses away in cold water once the embroidery is completed.
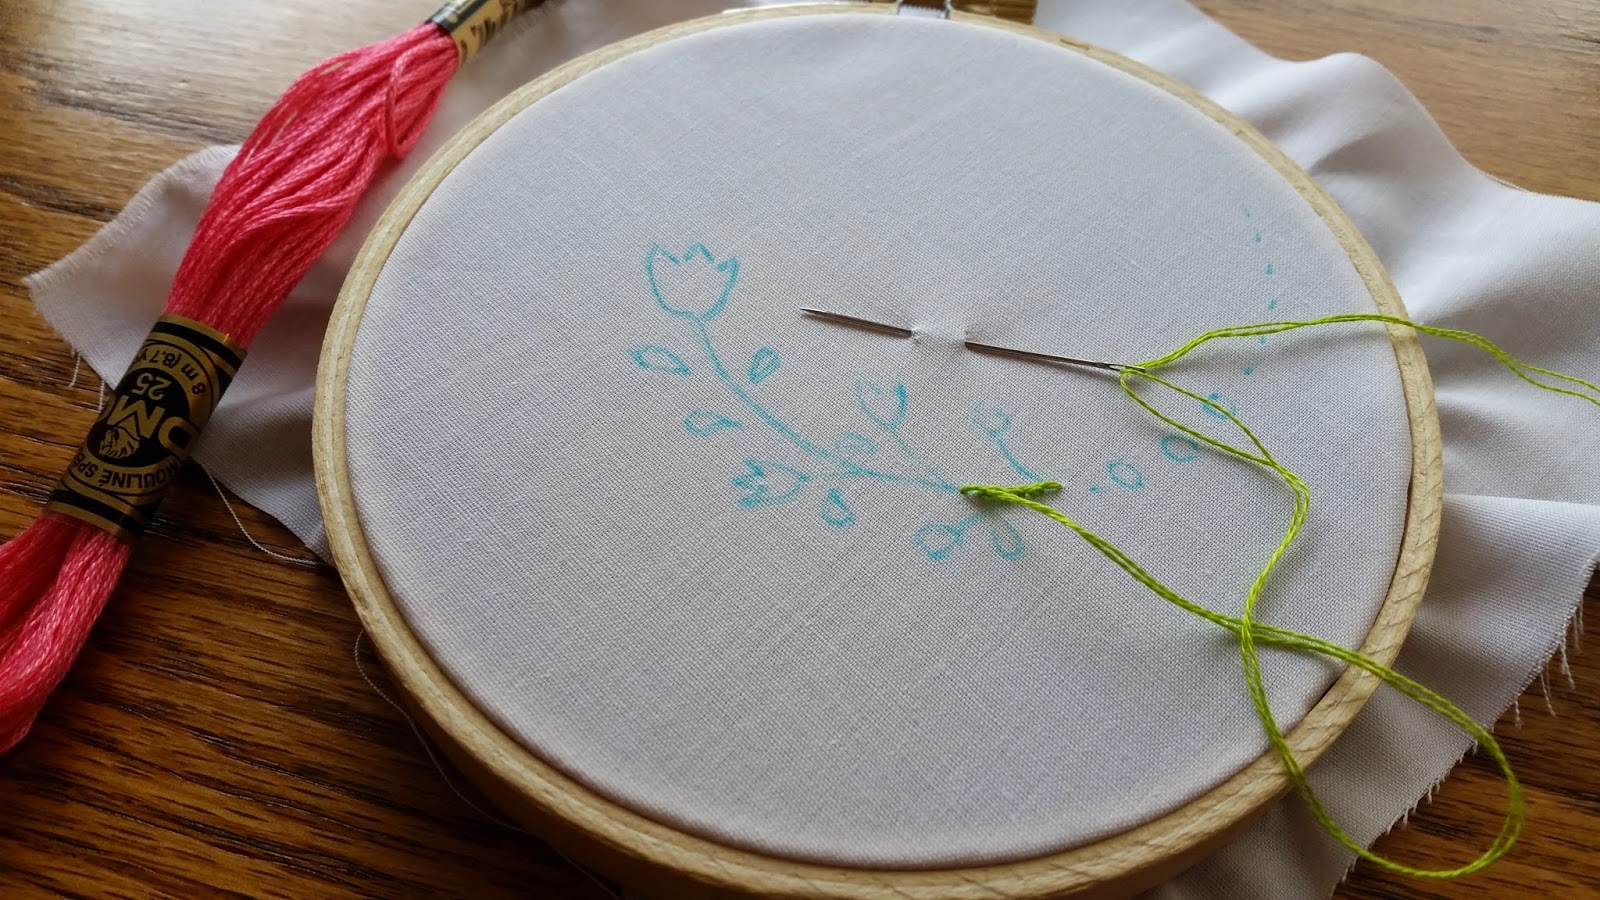
Tracing the design:
The white broadcloth was thin enough to lay directly on the design and trace. For denser fabric you can tape the design and fabric to a brightly lit window which gives the effect of a light box. Turning a clear baking dish upside down and placing a small flashlight underneath also works well. After years and years of transferring designs, I recently bought a 10" by 12" light box from Hobby Lobby with a 40% off coupon. The light box has become a well loved addition to my creative space!
Our "Heirloom Embroidery Book" includes 16 basic stitches along with many embroidery designs to choose from.
Michie'
Friday, March 20, 2015
Blanket Stitch A Bunny Applique'
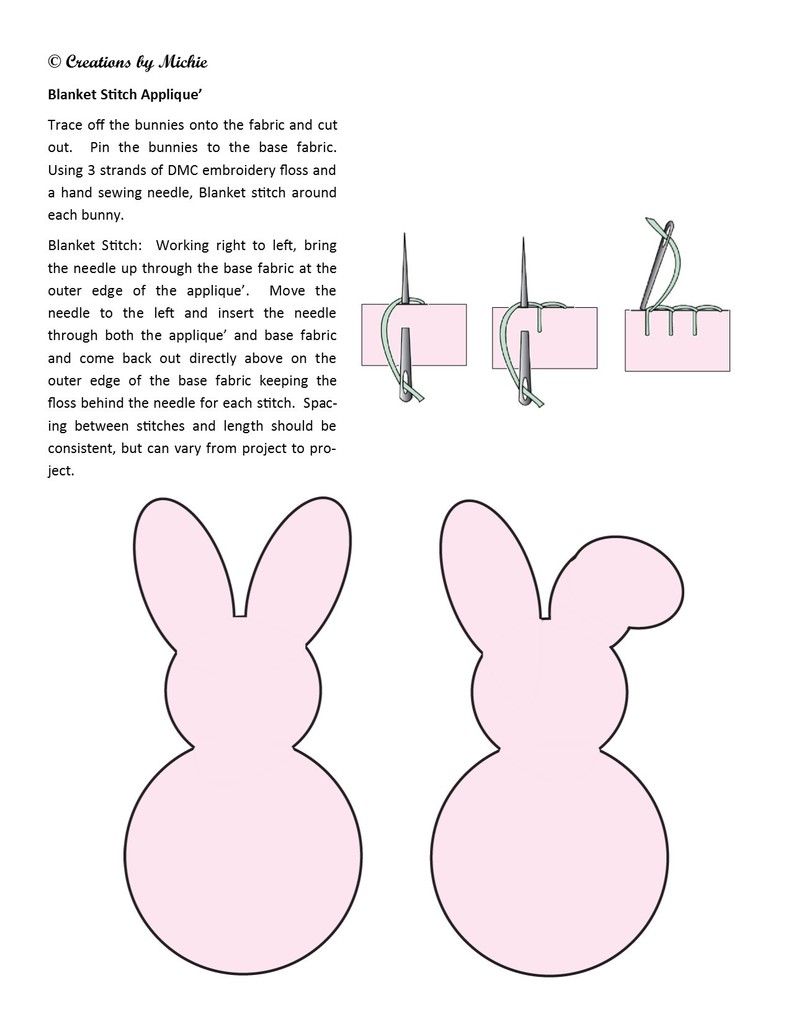
With Easter rapidly approaching I felt the need to stitch some simple bunnies. A new dishtowel, floral fabric scraps, and brown embroidery floss were all the were needed to give my kitchen a touch of Spring!
Click here for the free down loadable Bunny Applique and instructions.
Michie'
Thursday, January 22, 2015
Valentine's Day Embroidery
Sometimes a project needs something bolder than delicate embroidery. Fabric paint, heart stencils, and Cotton Pearl #5 embroidery thread were perfect for a Valentine's Day apron. Since I used what I had on hand for the project, which did not include heart stencils, I used heart cookie cutters and freezer paper. With the shiny side down, the freezer paper heart "stencils" were cut out with small scissors and pressed onto the apron with a hot iron. The only trick to the fabric paint was to brush the paint from the outer edge of the stencil toward the center to prevent it from bleeding under the edges of the stencil. I let the paint dry for about four hours, then began stitching. A basic Running Stitch and Back Stitch to outline the hearts was all that was needed!
I like to keep thread and paints on hand so the cost of the project was the apron for $4.99 at Hobby Lobby. This would be a great project for someone new to embroidery and easy to do with kids. You can just let your imagination run wild on what you would like to add hearts to. A few of the many things I thought of are tote a bag, onesie, sweatshirt, tea towel, or placemats. Just have fun with it.
Michie'
Sunday, August 3, 2014
Embroidered Onesies
Baby Stitches
1. White onesies
2. DMC embroidery floss
3. Hand sewing needle
Instructions: Pick out a design from the book. Refer to desired embroidery stitches. Add sweet stitching to a onesie in just a few minutes. :)
* I enjoy making these for our local pregnancy center.
Michie'
Tuesday, July 1, 2014
A Sunsuit For Hot Summer Days
#132
Michie'
Thursday, June 5, 2014
The Baby Gift
For a special friend, soon-to-be mommy, who is decorating the nursery in teddy bears. A sweet diaper shirt set. The bear design can be found in the Heirloom Embroidery Book.
Michie'
Monday, March 17, 2014
Bubble With Embroidered Anchors
Coming up in the May/June issue of Sew Beautiful Magazine .....a sweet little bubble with Bullion embroidered anchors. Blue and white gingham around the neck and a tutorial for binding the sleeves and stitching the anchors.
Michie'
Friday, February 21, 2014
A Bullion Bunny
A bullion stitched bunny from the "Heirloom Embroidery" book, is a great way to add a special touch to a garment when time is short. Try stitching a few bunnies in a row or in different colors!
A few tucks along with a bullion bunny makes a special Easter outfit.
Michie'
Tuesday, February 19, 2013
More Yellow And White!
Another yellow and white Easter outfit for a little inspiration. Pattern #113 was made out of yellow pique' and white Imperial Batiste. Shadow embroidery stitches were used for the Easter basket and bunny on the collar. The embroidery designs for both are included in the pattern or the "Heirloom Embroidery Book."
Since this outfit reminds me of one my boys wore 30 years ago, I guess we can call it a classic! :)
Michie'
Wednesday, June 20, 2012
Adjusting The Playsuit
This sweet little playsuit made by pattern #123, is just right for our hot summer days, and has been waiting for someone special to come along who could wear it. So, last week I retired it from the Trunk Show and promoted it to Emma's closet. But first it needed an adjustment...
Yes, the ice cream cones are hand stitched using the Satin stitch. The ice cream cone design and Satin stitch instructions can be found in the "Heirloom Embroidery Book."
Emma is a short little thing, so the playsuit was a little long waisted for her. Once again, hanging onto scraps is a good thing and I was able to find a scrap just the right size for a new waist band. It didn't take any time at all to take off the old waist band and cut a new one, which also needed to be slightly longer. I then shortened the front and back bib fronts by 1" and attached the new waist band. Total adjustment time was less than 2 hours. Not bad for a wearable outfit for our little sweetie! :)
Michie'
Tuesday, April 24, 2012
Skip The Tucks!
For the reader who asked, "How do you adjust the Dedication Bubble pattern to fit different size tucks" you are in luck since this post explains a little more about the pattern! Several of my newer patterns, including #126 Dedication Bubble, are designed so that the tucks are sewn into a square piece of fabric then the front pattern piece is pinned on top and cut out. This gives you the freedom to use the tuck guides included in the pattern, make up your own, or make a plain bubble as shown above. I know that you are now asking if the Dedication Bubble can be made plain, why is it not shown on the pattern front? An excellent question, and one that I have no answer for except that it didn't occur to me at the time!
Michie'
Thursday, February 2, 2012
The Great Bubble Debate
The bubble is made from pale blue pique' using pattern #105. A simple pattern with inverted pleats and no placket to deal with! The collar is Shadow embroidered with little airplanes that can be found in the "Heirloom Embroidery Book."
Does it look like someone is about ready to crawl? So far he can only go backwards! :)
Michie'
*A Message from Anna:
We have clarified with Daddy that not all bubbles fall into the debate. Daddy likes slimmer looking bubbles not ones with gathers that "look too much like a dress." :-) I think we can work with that.
Anna Michie'
Thursday, September 29, 2011
A Fall Romper For The Boy
Michie'
Monday, September 19, 2011
A Pink Dress For Emma
This is one of the little dresses that I took on my visit in August. The dress is made by pattern #106 and is such a practical and sweet dress for a little one. I used Imperial Batiste fabric so that the dress would need little if any ironing. I was told that I receive HUGE Nana points if things don't need to be ironed and I'm taking this seriously!
Michie'
Monday, April 25, 2011
New Sew Beautiful Issue
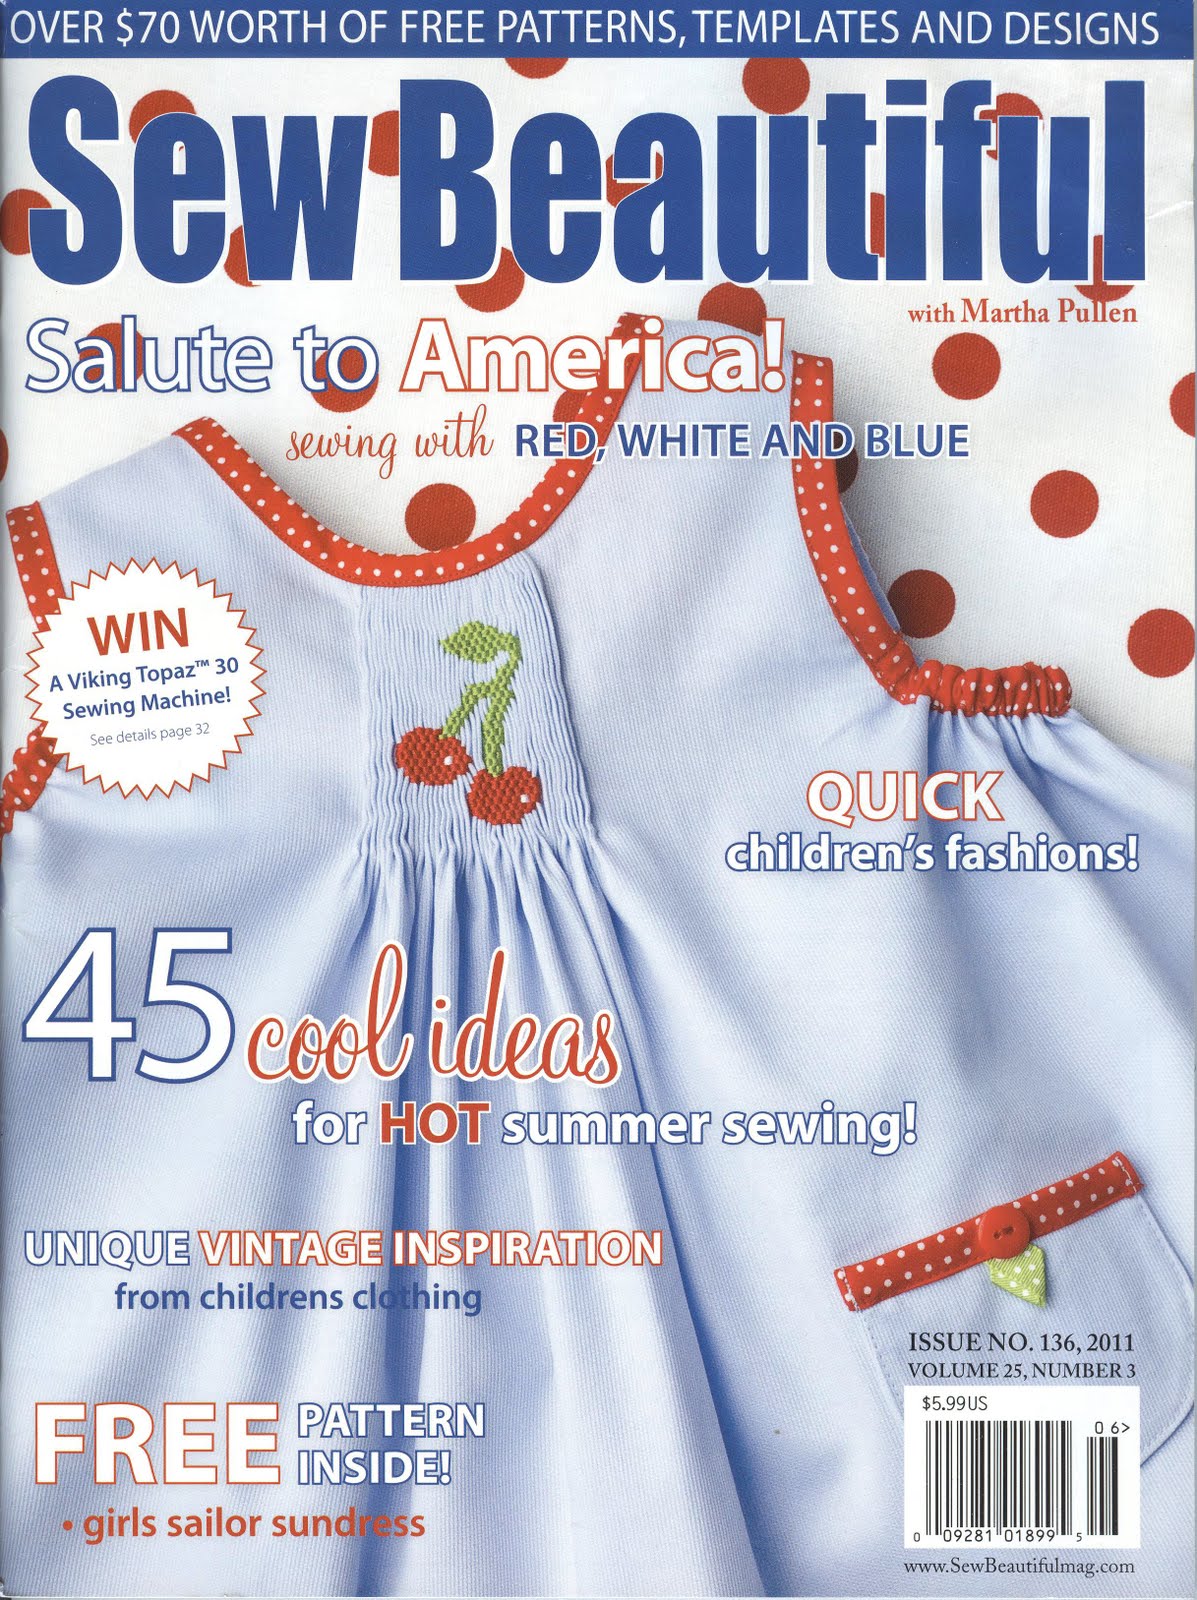
The preview copy of Sew Beautiful's Red, White and Blue issue came in the mail and what a fun issue it is! It is one of those issues that just makes you long for hot summer days.
Once again, it was a nice surprise when a recognized one of my patterns in the magazine. The precious dress on the left was made using pattern #12o. Details about the fabric and machine embroidery design for the yoke can be found in the magazine.
A special thank you to the seamstress who designed this dress and congratulations on appearing in the magazine!
Michie'
Wednesday, March 23, 2011
Embroidered Bunnies
Here is a little inspiration to get you going on your Easter Sewing! I made both outfits from pima cotton and few simple changes to the collars were all that was needed to give them a totally different look.
The little boy's bubble was made from pattern #115 and the embroidered bunnies are in the Heirloom Embroidery Book. To change up the look of the collar a Madeira Trim was added to the bottom edge.
The little girl's dress was made from pattern #131 and appeared in Creative Needle Magazine several years ago.
Click here for down loadable directions for the Madeira trim collar. Good luck with your Easter Sewing!Michie'
Friday, December 3, 2010
A Baby Shower Gift
Michie'
Wednesday, September 8, 2010
Revised Embroidery Book
The same great book, but new and improved! All the classic stitches are still there, along with the Eyelet and Blanket Stitch The illustrations and instructions have a cleaner updated look and there are several new pages of embroidery designs. All "Heirloom Embroidery Books" shipped from the website are now the new and improved version!
*Vintage Dress Lesson 1 will post this Friday!
Michie'
Wednesday, May 12, 2010
#112 Pattern of the Week
Michie'
Friday, May 7, 2010
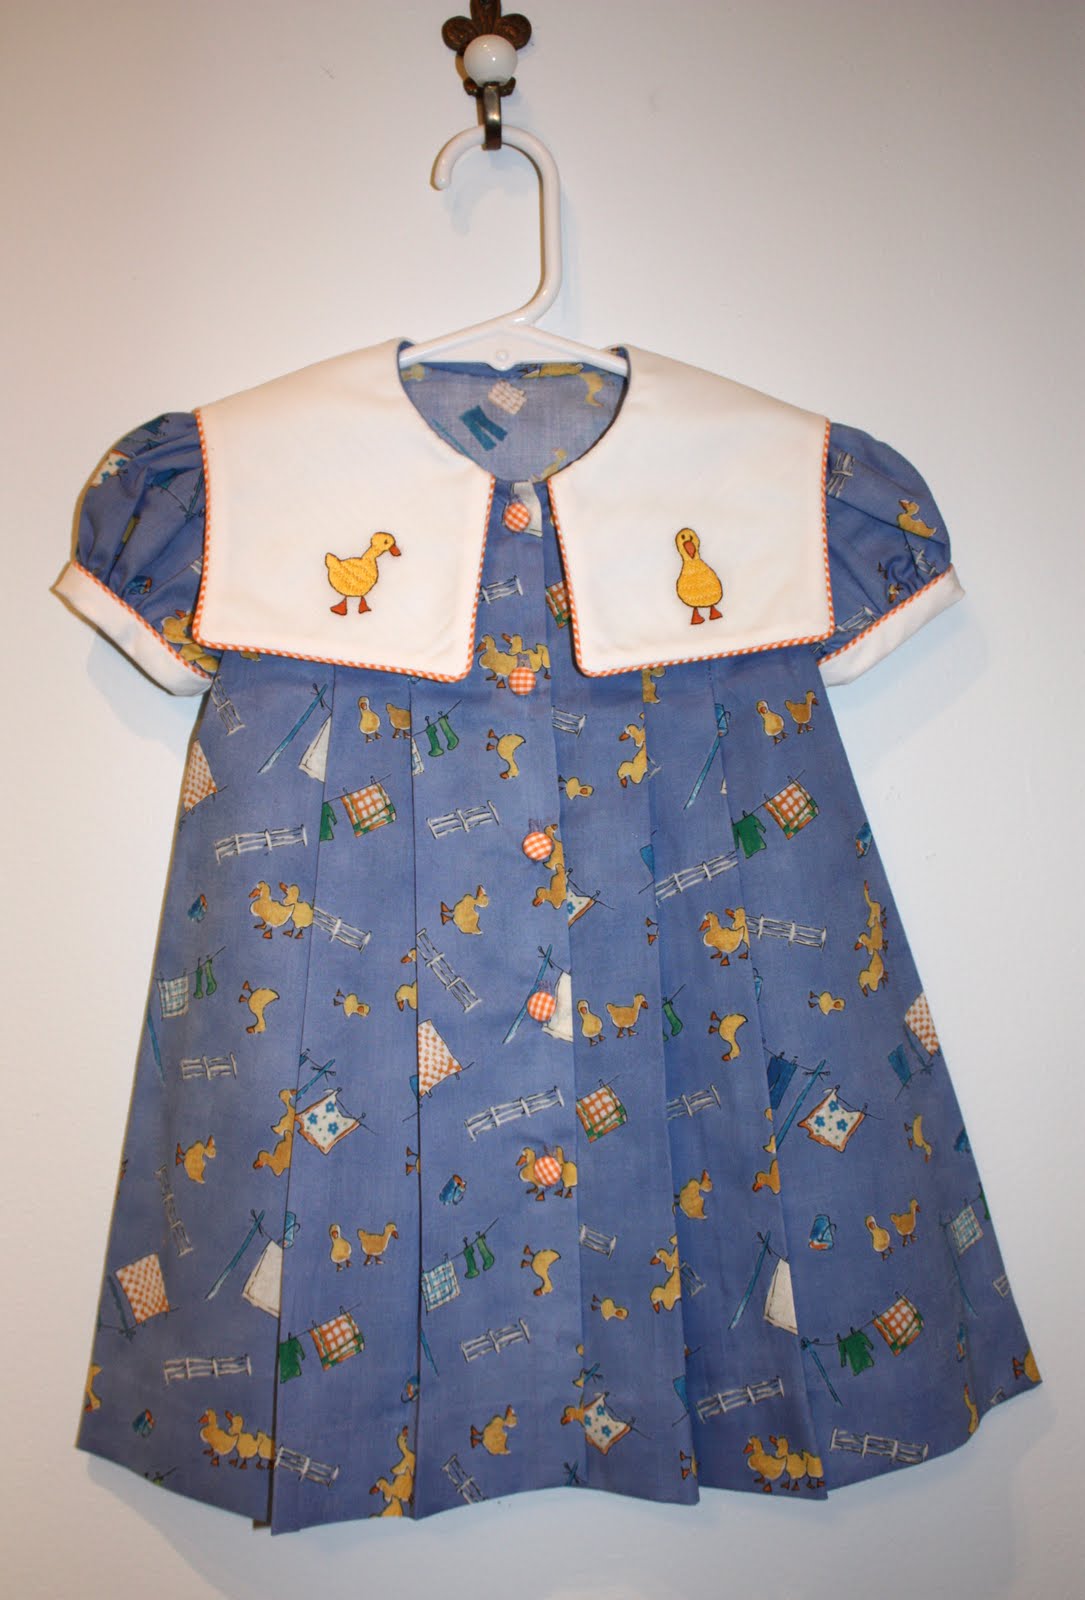
Embroidered Ducks
I hope this inspires you to keep sewing!
* Don't forget about the free give away!
Michie'
Subscribe to:
Posts (Atom)