Monday, March 29, 2010

#109 Pattern of the Week

Pattern #109, is probably my all time favorite pattern, and has been featured in magazines the most often. The pattern includes a boy or a girl version and comes in sizes newborn - 6 months. You can choose from a Peter Pan collar trimmed with piping, lace, or faggoting, or a simple neckband.

Made sleeveless, the diaper shirt is great for summer and would be suitable for a baby boy of girl. The faggoting around the collar gives the shirt a more tailored look, and just a little embroidery is all that is needed to dress it up.

Featured in Creative Needle Magazine 2007, Suzanne Herbert, made this diaper shirt from fine linen. Tucks were added to the collar, before it was cut out. Suzanne, added a tiny pocket and hand stitched a running stitch in blue, around the bottom hem and pocket.

Also, made by Suzanne Herbert for Creative Needle Magazine 2006, this diaper shirt and cover, were made from linen/cotton batiste. The flowers on the fabric are all hand embroidered.

Featured in Creative Needle Magazine 2003, Shadow Embroidery gave this diaper shirt a more casual look.

The fact that I brought my first baby home from the hospital in a similar shirt and cover that I made nearly 32 years ago, probably has nothing to do with why this pattern is my favorite!

Michie'

Saturday, March 27, 2010

And the Winner Is!

I had no idea, that today's' drawing would also celebrate my 100th blog post! That is a little frightening to think that I have had things to say 100 times! :) In case you are worried, between my notebook section of "blog ideas" and your comments and questions, I don't think I will run out of ideas anytime soon.

First of all, thank you, to everyone that left a comment for the contest. A total of 60 comments were left, and I have enjoyed reading every single one! I am so glad that this was a random drawing and I didn't have to choose a favorite. Some of your favorite tools were new to me, and I am looking forward to trying them out. Others, were special tools that belonged to a loved one and have a strong personal attachment. Many mentioned little ones playing at your feet or hanging on your chair while you sewed. One of my earliest memories, was playing on the floor with buttons while my Mother sewed. Make sure that your family is involved in your sewing, so that one day they will have that wonderful memory of you!

And now for the drawing.....drum roll please.......the winner is........

lizzie said...
Well it is a tie...the 6 in ruler that goes everywhere I go BUT...also my scissors...you better not touch my scissors...MY son's girlfriend {now wife} once picked up my scissors..and my SON said..."I think you best put those down..no one touches my Mom's scissors..and if you want her to love you don't touch!!!too funny!!! Thanks Miche'


Lizzie, I laughed out loud when I read your comment! Please email with your full name and address and let me know which pattern or book that you would like for your free gift!


Michie'

Friday, March 26, 2010

Diaper Cover Details Part 3

Here is a quick look at constructing the diaper cover from pattern #109. Pin and stitch the diaper cover to the lining, leaving the top open. Trim the seam, clip the curves, and turn the cover right side out. Press.

Measure and mark the elastic casing at the leg openings, and stitch according to the pattern directions.

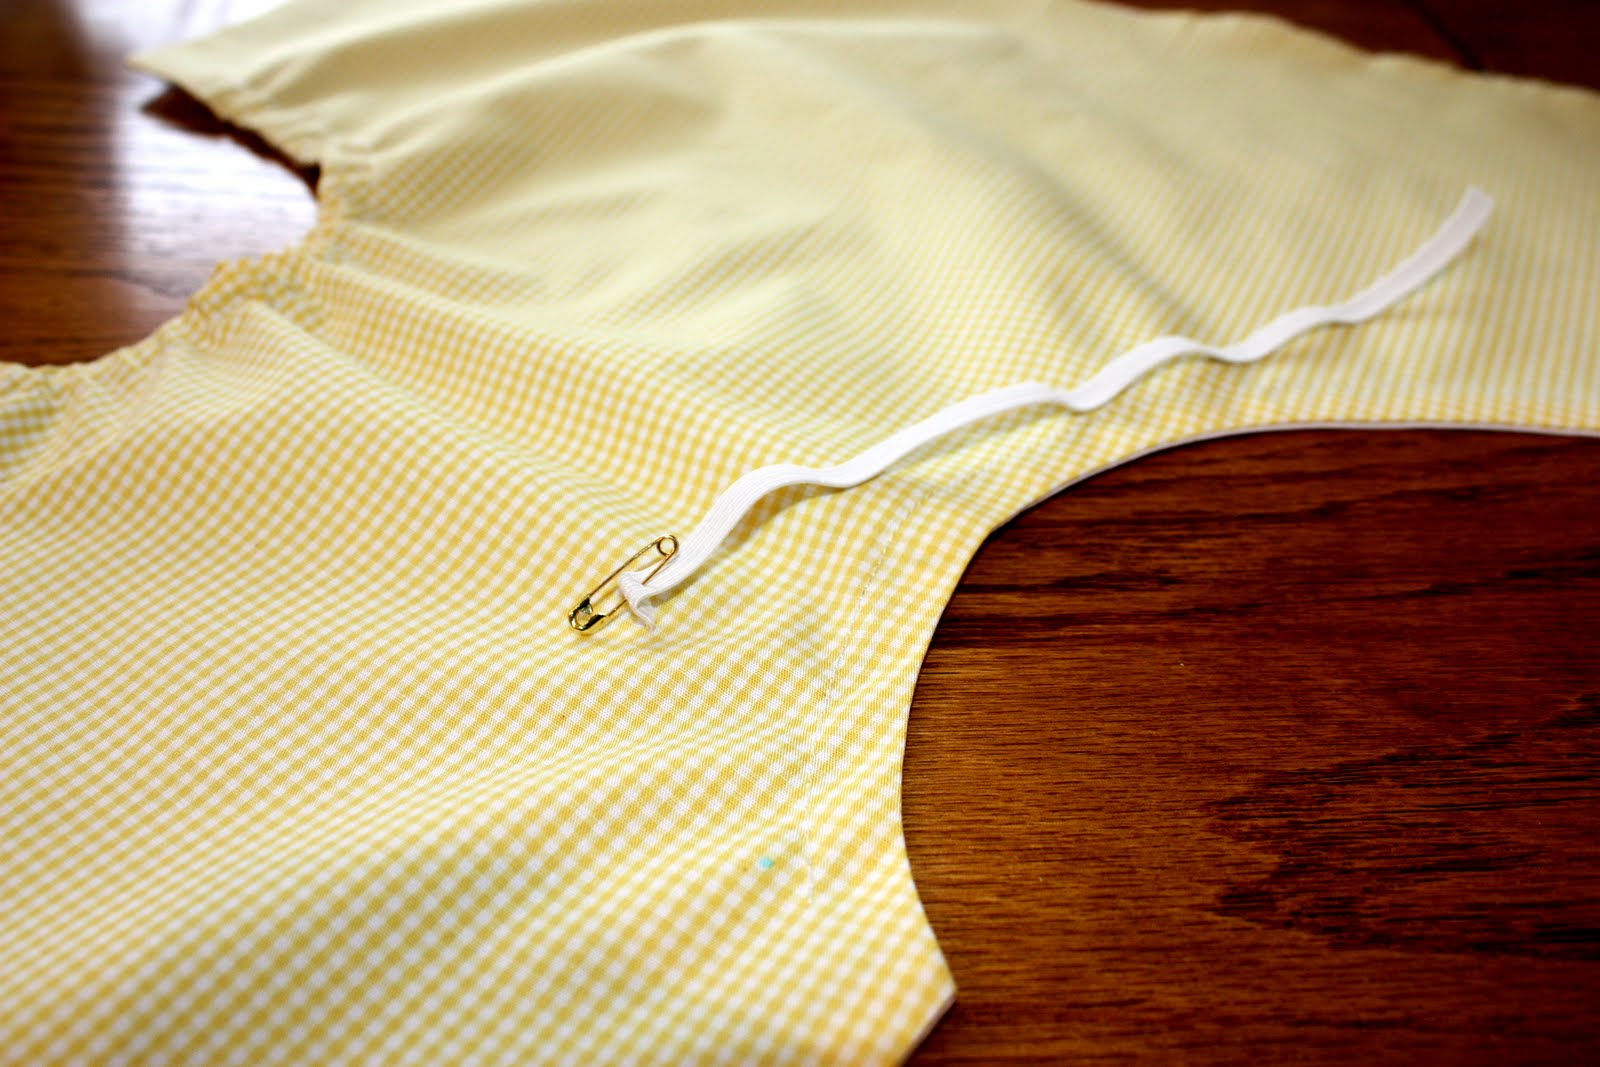
Using a small safety pin, run the elastic through the leg casings, stitching at both ends.

*You will need to run your hand between the cover and lining for this step. Secure both ends of the elastic with a pin until you are ready to stitch.

Secure the elastic by straight stitching over both ends. Be sure to back stitch!


And, here is how it looks! :)


Following the pattern directions, fold down the back top along the fold line, turn under 1/4", and stitch close to the fold line. Run the elastic through the casing and stitch at both ends.

Complete the diaper cover, by stitching the button holes and attaching the buttons. Once you have made your first diaper cover, you will never hesitate again!
* Don't forget to enter the "Random Free Giveaway!"
Michie'

Thursday, March 25, 2010

Diaper Shirt Details Part 2

Here are some pictures that will help walk you through the steps of applying the bias trim to the diaper shirt. First, follow the direction from the blog "Adapting the Pattern." Next, with right sides together, straight stitch the bias strip to the shirt using a 1/4" seam allowance.

Using a zigzag stitch length of about 3.0 and width of about 3.5, zigzag close to the straight stitching line.

Using the zigzag stitch as your guide, trim away the excess fabric. Press the bias strip away from the shirt.

On the wrong side, turn under the raw edge of the bias strip and pin in place. Using tiny stitches, slip stitch the bias strip in place. This will make your bias strip about 1/4" wide.

This is such an easy technique for diaper shirts and daygowns, that we should all have plenty made up for gifts!

*Don't forget that the "Random Free Giveaway" ends on Friday at midnight! Congratulations, to those of you who are leaving comments for the first time!

Michie'

Wednesday, March 24, 2010

Baby Duck Diaper Shirt Part 1

Really cute fabric deserves a really cute pattern. I purchased the baby duck fabric from wendyschoesdesigns, and the butterscotch gingham was already in my fabric stash.

The diaper shirt and cover were made using pattern #109. The diaper shirt was adapted using the same technique as the bias trimmed daygown. The shirt is sleeveless and trimmed with gingham.

After the shirt was finished, I decided that it needed a little more color, so I added a small pocket from pattern #118.

* Don't forget to enter the Free Giveaway drawing! Keep those comments coming!

Michie'


Tuesday, March 23, 2010

Random Free Giveaway!

Time for a free giveaway! What is the occasion? Not a thing. I think that we just all need a little boost right now. And, what is the prize? One free pattern of YOUR choice!

The free giveaway theme is, "What is your favorite sewing tool?" Be creative. I know for many of you this may be your grandmother's pin cushion, your favorite music playing, or your cat nearby. My favorite is pictured above. It is my silver seam ripper from Martha Pullen Co. When I discovered a seam ripper that was in a pretty case, and could be hung from a ribbon, I heard angels sing!!!! No longer, would I be crawling around looking for my seam ripper because it had decided to hide under the couch!

So, here are the rules.

  • Post a comment, on this post only. No e-mails, please. And, you may only post once. Please leave your e-mail address with your post, so that I can contact the winner!

  • Tell us, what is your favorite sewing tool. You can hardly sew without it!

  • Your time to enter will end this Friday night at midnight.

I will draw a name Saturday morning. You can watch Saturday's post to see who the lucky winner is. I will then contact the winner, to find out which pattern (or the embroidery book) you would like. This will also give you time to see which pattern you would like to add to your stash!

For those of you who are "posting shy", it is now time to try something new! I, also, recently began to leave comments, and it is not that hard! :) Good luck!

Michie'

Monday, March 22, 2010

#108 Pattern of the Week

The pattern of the week is #108! The "Tucked Infant Gown", includes sizes preemie to 12 months, and may be smocked or gathered to the yoke. With two choices of collars or a simple neckband, and three different style sleeves, it is easy to make the gown suitable for a boy or a girl.

Made from peach cotton lawn, the gown pictured above is trimmed with lace and hand embroidery. The tucks on the yoke were eliminated, by using the yoke lining pattern for the yoke. The gown was featured in Sew Beautiful Magazine issue #104. The white dress in the picture is made from pattern #104.

The embroidery design for the gown is included in the magazine.


Featured in Sew Beautiful Magazine issue #112, this gown was made from gold tissue silk. Dusty blue, hand embroidery and smocking, gives this gown an antique look.


The collar is trimmed with blue silk piping and tiny gathered lace. The smocking design can be found in the magazine.

Because only basic construction techniques are required, this gown is great for those new to smocking construction.

Michie'

LinkWithin

Related Posts with Thumbnails